文章目录
  1. 1. 安装版本
  2. 2. 安装过程
    1. 2.1. Nginx
    2. 2.2. PHP-FPM
    3. 2.3. MySQL
  3. 3. 例子
  4. 4. 总结
  5. 5. 参考资料

在 Mac 上进行 PHP 开发,首先需要搭建开发环境。具体的,主要需要安装 NginxPHP-FPMMySQL ,但由于网上各安装教程中软件版本不同和配置的差异,没有一个可以完全参照教程。遂,吸取前人搭建环境过程中的经验,总结下自己搭建环境的过程,mark。

搭建过程主要分一下几部分说明:首先是安装前系统的版本,以及将要安装的版本,接着是说明安装过程,分别包括NginxPHP-FPMMySQL的安装过程,最后以一个简单的例子结束。

安装版本

MAC系统版本和安装的软件版本:

  • MAC 系统:OS X EL Captain, Version: 10.11
  • Nginx: 1.8.0
  • PHP-FPM: PHP 5.6.14 (fpm-fcgi)
  • MySQL: 5.6.26

安装过程

下载并安装各软件包均通过 Homebrew,因此,安装之前,需在 Mac 上下载并安装  Homebrew,在 CLI 中通过下面的命令可以完成:

1
> ruby -e "$(curl -fsSL https://raw.githubusercontent.com/Homebrew/install/master/install)"

Homebrew 是 Mac 上用于下载并安装软件包的管理工具,非常便捷。它可以确保下载并安装最新版本的软件,不必担心安全漏洞;并且,会自动下载相关的依赖包。

在每次安装之前,可以先执行下面的命令,更新通过 Homebrew 下载的软件的包,或者更新 Homebrew (如果已经安装的话), 建议每次安装前都运行下:

1
> brew update && brew upgrade

一般,通过 Homebrew 下载并安装软件包过程如下:

1
2
> brew search pkg_name  # 搜索相关的包信息
> brew install pkg_name # 安装包

卸载通过 Homebrew 下载并安装的软件包命令如下:

1
> brew uninstall pkg_name

并且,通过执行下面的命令,可以检测下载安装的软件包是否有问题或冲突:

1
> brew doctor

安装了 Homebrew 之后,就可以正式开始搭建 PHP 开发环境了;)

Nginx

安装 Nginx ,通过 Homebrew 进行搜索,可以看到很多安装包:

1
2
3
4
5
6
7
8
9
10
11
12
> brew search nginx
homebrew/nginx/accept-language-nginx-module
homebrew/nginx/accesskey-nginx-module
homebrew/nginx/ajp-nginx-module
homebrew/nginx/anti-ddos-nginx-module
homebrew/nginx/array-var-nginx-module
homebrew/nginx/auth-digest-nginx-module
...
homebrew/nginx/ustats-nginx-module
homebrew/nginx/var-req-speed-nginx-module
homebrew/nginx/websockify-nginx-module
homebrew/nginx/xsltproc-nginx-module

这里安装默认的 Nginx

1
> brew install nginx

添加 Nginx 至开机启动:

1
> ln -sfv /usr/local/opt/nginx/*.plist ~/Library/LaunchAgents

添加至开机启动后,会在目录 ~/Library/LaunchAgents 看到如下软链接:

1
homebrew.mxcl.nginx.plist -> /usr/local/opt/nginx/homebrew.mxcl.nginx.plist

然后,还需执行如下命令,才可在开机时启动:

1
2
3
> sudo chown root:wheel /usr/local/Cellar/nginx/1.8.0/bin/nginx
> sudo chmod u+s /usr/local/Cellar/nginx/1.8.0/bin/nginx
> sudo chown -R $USER /usr/local/var/log/nginx/

到这里,Nginx 就算安装完成了。开启和停止服务的命令:

1
2
> sudo nginx         # Start
> sudo nginx -s stop # stop

在开启 Nginx 服务后,在 CLI 中输入下面命令,并返回如下结果,表明 Nginx 安装成功:

1
2
3
4
5
6
7
8
9
10
> curl -v http://127.0.0.1:8080   # 测试Web服务
HTTP/1.1 200 OK
Server: nginx/1.8.0
Date: Tue, 06 Oct 2015 12:00:11 GMT
Content-Type: text/html
Content-Length: 548
Last-Modified: Tue, 06 Oct 2015 08:50:17 GMT
Connection: keep-alive
ETag: "56138b49-224"
Accept-Ranges: bytes

Nginx 默认配置监听 8080 端口。

PHP-FPM

Mac 10.11 系统自带了 PHPPHP-FPM, 不过很多扩展没有安装。这里,选择从 Homebrew 下载带有扩展的版本。由于 brew 默认没有 PHP 安装包,因此,需要通过 brew tab 从第三方下载安装程序:

1
2
> brew tap homebrew/dupes
> brew tap homebrew/php

在下载安装 PHP-FPM之前,需要执行下面命令,否则, 会出现错误

1
> xcode-select --install

然后,可以根据个性化配置下载并安装 PHP 了,这里安装配置如下:

1
> brew install --without-apache --with-fpm --with-mysql php56

Homebrew 在下载 PHP-FPM 源码后,还需要进行编译和安装,需要数分钟。到这里,PHP 就安装结束了。

如果需要在 CLI 中执行 PHP 命令,还需要 $PATH 环境变量:

1
2
> echo 'export PATH="/usr/local/sbin:$PATH"' >> ~/.bash_profile
> source ~/.bash_profile

这时,可以在 CLI 中查看 PHP 的版本信息:

1
2
3
4
> php-fpm -v
PHP 5.6.14 (fpm-fcgi) (built: Oct 6 2015 02:49:37)
Copyright (c) 1997-2015 The PHP Group
Zend Engine v2.6.0, Copyright (c) 1998-2015 Zend Technologies

或者:

1
2
3
4
> php -v
PHP 5.6.14 (cli) (built: Oct 6 2015 02:49:34)
Copyright (c) 1997-2015 The PHP Group
Zend Engine v2.6.0, Copyright (c) 1998-2015 Zend Technologies

接着,设置 PHP-FPM 自启动:

1
> ln -sfv /usr/local/opt/php56/homebrew.mxcl.php56.plist ~/Library/LaunchAgents/

执行如下命令,开启 PHP-FPM 服务:

1
> launchctl load -w ~/Library/LaunchAgents/homebrew.mxcl.php56.plist

如果服务启动成功,执行如下命令,将会看到下面的结果(PHP-FPM默认监听端口9000):

1
2
3
4
5
> lsof -Pni4 | grep LISTEN | grep php
php-fpm 7016 thuer 6u IPv4 0x35f30878b664b56d 0t0 TCP 127.0.0.1:9000 (LISTEN)
php-fpm 7021 thuer 0u IPv4 0x35f30878b664b56d 0t0 TCP 127.0.0.1:9000 (LISTEN)
php-fpm 7022 thuer 0u IPv4 0x35f30878b664b56d 0t0 TCP 127.0.0.1:9000 (LISTEN)
php-fpm 7023 thuer 0u IPv4 0x35f30878b664b56d 0t0 TCP 127.0.0.1:9000 (LISTEN)

停止 PHP-FPM 服务:

1
> launchctl unload -w ~/Library/LaunchAgents/homebrew.mxcl.php56.plist

MySQL

安装 MySQL :

1
> brew install mysql

添加 MySQL 服务至开机自启动:

1
> launchctl load ~/Library/LaunchAgents/homebrew.mxcl.mysql.plist

对 MySQL 进行安全配置,执行如下命令:

1
> mysql_secure_installation

接着,会有一系列的问答,均选择 Y

1
2
3
4
5
6
> Enter current password for root (enter for none): # 直接 Enter
> Change the root password? [Y/n] # Y
> Remove anonymous users? [Y/n] # Y
> Disallow root login remotely? [Y/n] # Y
> Remove test database and access to it? [Y/n] # Y
> Reload privilege tables now? [Y/n] # Y

接着,测试连接:

1
2
3
4
5
6
7
8
9
10
11
12
13
14
15
> mysql -uroot -p
Enter password:
Welcome to the MySQL monitor. Commands end with ; or \g.
Your MySQL connection id is 4
Server version: 5.6.26 Homebrew

Copyright (c) 2000, 2015, Oracle and/or its affiliates. All rights reserved.

Oracle is a registered trademark of Oracle Corporation and/or its
affiliates. Other names may be trademarks of their respective
owners.

Type 'help;' or '\h' for help. Type '\c' to clear the current input statement.

mysql>

退出 MySQL时,直接 Ctrl + C,或者,执行如下命令:

1
2
mysql> \q
Bye

开启和停止 MySQL 服务命令如下:

1
2
> mysql.server start #启动mysql服务
> mysql.server stop #关闭mysql服务

至此,NginxPHP-FPMMySQL 均已安装成功。

例子

在安装成功NginxPHP-FPM之后,就可以启动服务,进行开发了。Nginx 安装路径位于 /usr/local/etc/nginx,启动 Nginx 服务之前,需要配置 Nginx.conf

备份原始配置

1
> mv /usr/local/etc/nginx/nginx.conf /usr/local/etc/nginx/nginx.conf.bak

修改 Nginx 配置,如下:

1
2
3
4
5
6
7
8
9
10
11
12
13
14
15
16
17
18
19
20
21
22
23
24
25
worker_processes  1;

error_log /usr/local/var/log/nginx/error.log warn;

pid /usr/local/var/run/nginx.pid;

events {
worker_connections 256;
}

http {
include mime.types;
default_type application/octet-stream;

log_format main '$remote_addr - $remote_user [$time_local] "$request" '
'$status $body_bytes_sent "$http_referer" '
'"$http_user_agent" "$http_x_forwarded_for"';

access_log /usr/local/var/log/nginx/access.log main;
port_in_redirect off;
sendfile on;
keepalive_timeout 65;

include /usr/local/etc/nginx/conf.d/*.conf;
}

创建虚拟主机配置目录:

1
> mkdir /usr/local/etc/nginx/conf.d

/usr/local/etc/nginx/conf.d/ 目录下,创建默认服务配置 default.conf,如下:

1
2
3
4
5
6
7
8
9
10
11
12
13
14
15
16
17
18
19
20
21
server {
listen 8080;
server_name localhost;

root /Users/thuer/programs/dev-programs/workspace-php/nginx_sites/;

location / {
index index.php index.html index.htm;
autoindex on;
}

#proxy the php scripts to php-fpm
location ~ \.php$ {
include /usr/local/etc/nginx/fastcgi.conf;
fastcgi_intercept_errors on;
fastcgi_pass 127.0.0.1:9000;
#include fastcgi_params;
#fastcgi_param SCRIPT_FILENAME $document_root$fastcgi_script_name;
#fastcgi_index index.php;
}
}

修改完 Nginx 的配置后,可以通过下面命令查看配置是否有问题:

1
2
3
> nginx -t
nginx: the configuration file /usr/local/etc/nginx/nginx.conf syntax is ok
nginx: configuration file /usr/local/etc/nginx/nginx.conf test is successful

Nginx 的配置修改完后,需要重启 Nginx 后,新的配置信息才会生效。

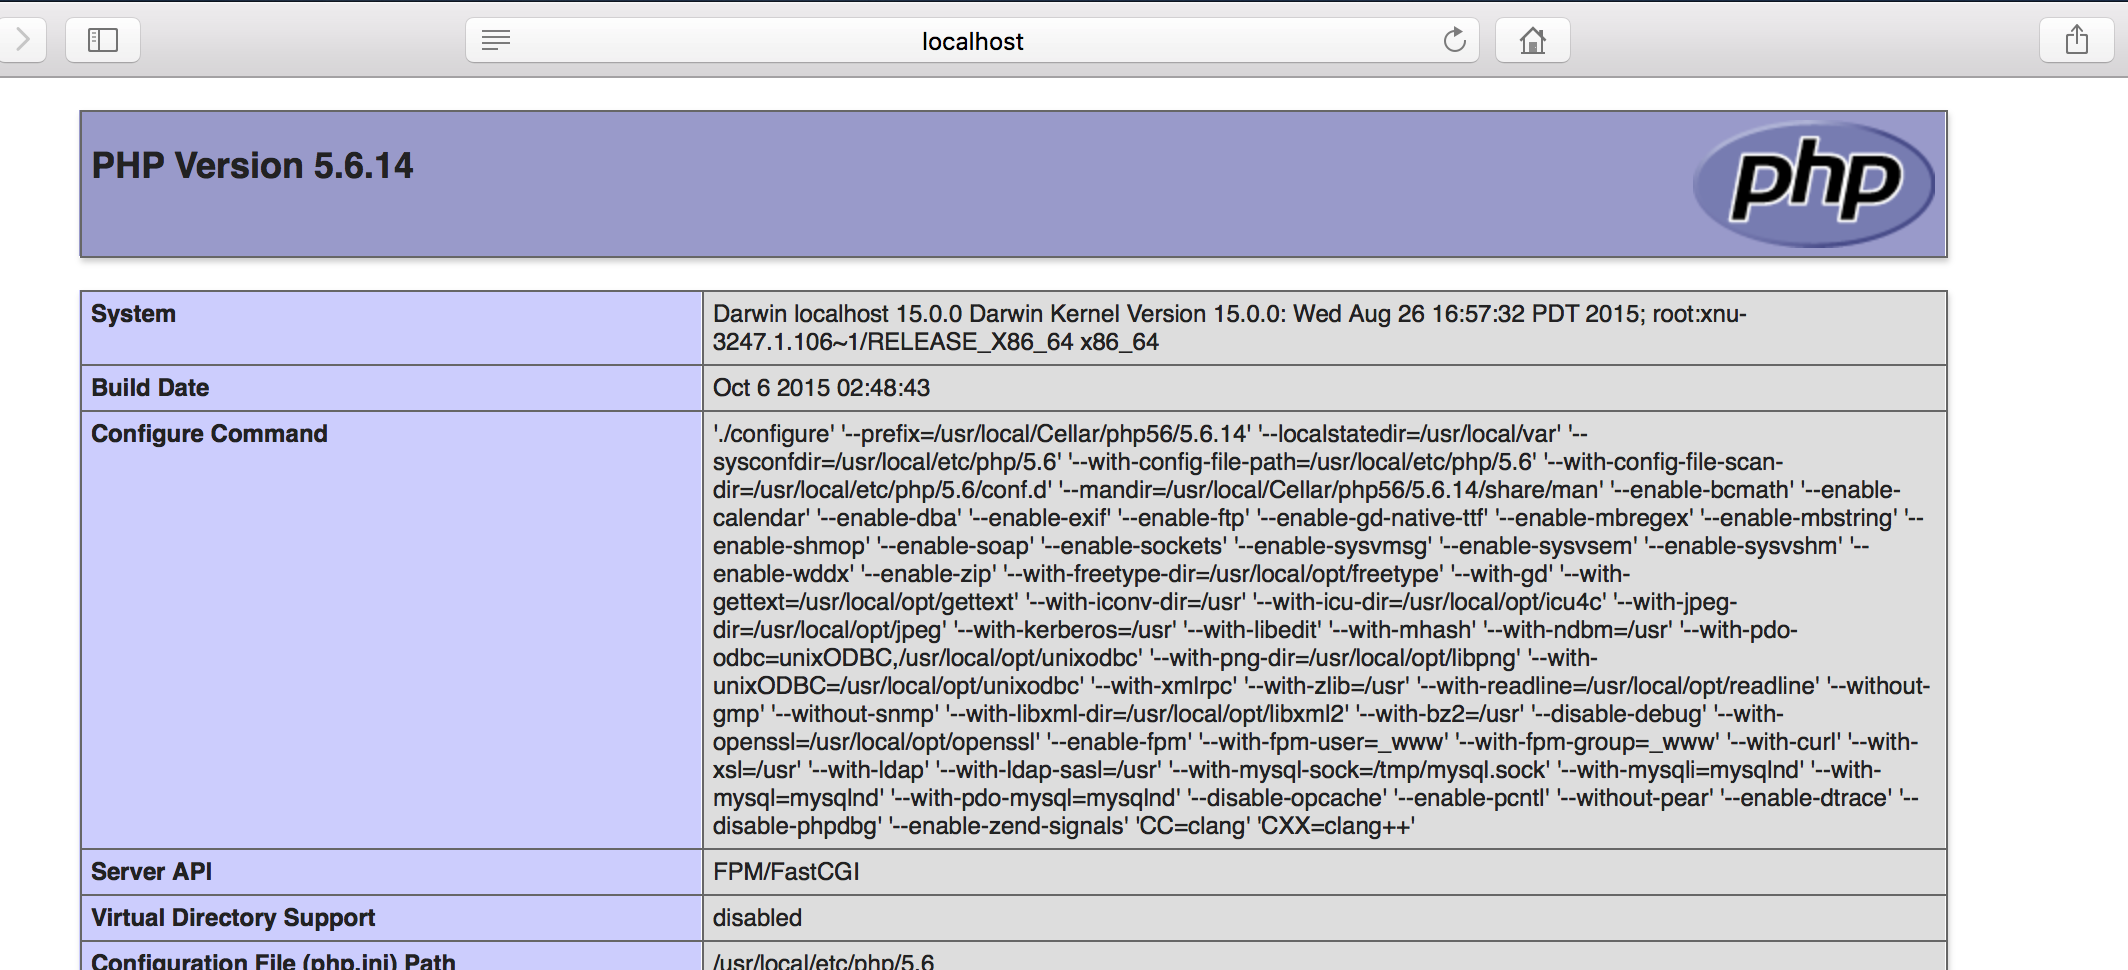
最后,在 /Users/thuer/programs/dev-programs/workspace-php/nginx_sites/ 下创建 index.php 如下:

1
<?php phpinfo(); ?>

在开启 NginxPHP-FPM 服务之后,在浏览器中输入 localhost:8080,就可以看到如下页面了:

最后,总结下 NginxPHP-FPMMySQL 的服务启动与关闭命令:

  • Nginx 服务:
1
2
3
> sudo nginx             # 开启
> sudo nginx -s stop # 停止
> sudo nginx -s reload # 修改配置文件后,重启nginx服务
  • PHP-FPM 服务:
1
> sudo php-fpm           # 开启

或者

1
2
> launchctl load -w ~/Library/LaunchAgents/homebrew.mxcl.php56.plist     # 开启
> launchctl unload -w ~/Library/LaunchAgents/homebrew.mxcl.php56.plist # 停止

或者,通过别名:

1
2
3
> alias php-fpm.start="launchctl load -w ~/Library/LaunchAgents/homebrew.mxcl.php56.plist"
> alias php-fpm.stop="launchctl unload -w ~/Library/LaunchAgents/homebrew.mxcl.php56.plist"
> alias php-fpm.restart='php-fpm.stop && php-fpm.start'
  • MySQL 服务:
1
2
> mysql.server start    # 开启
> mysql.server stop # 停止

总结

本文主要记录了搭建 PHP 的开发环境过程,描述通过 Homebrew 下载并安装 NginxPHP-FPMMySQL,最后,以一个简单的例子,说明配置 Nginx,并启动 NginxPHP-FPM 服务后,在浏览器中查看PHP页面的过程。

参考资料

  1. Install Nginx, PHP-FPM, MySQL and phpMyAdmin on OS X Mavericks or Yosemite
  2. osx10.9.4安装php开发环境
  3. Mac OSX 10.9搭建nginx+mysql+php-fpm环境
  4. Mac 下 Nginx、MySQL、PHP-FPM 的安装配置
文章目录
  1. 1. 安装版本
  2. 2. 安装过程
    1. 2.1. Nginx
    2. 2.2. PHP-FPM
    3. 2.3. MySQL
  3. 3. 例子
  4. 4. 总结
  5. 5. 参考资料